lesson 002: generating 3d objects
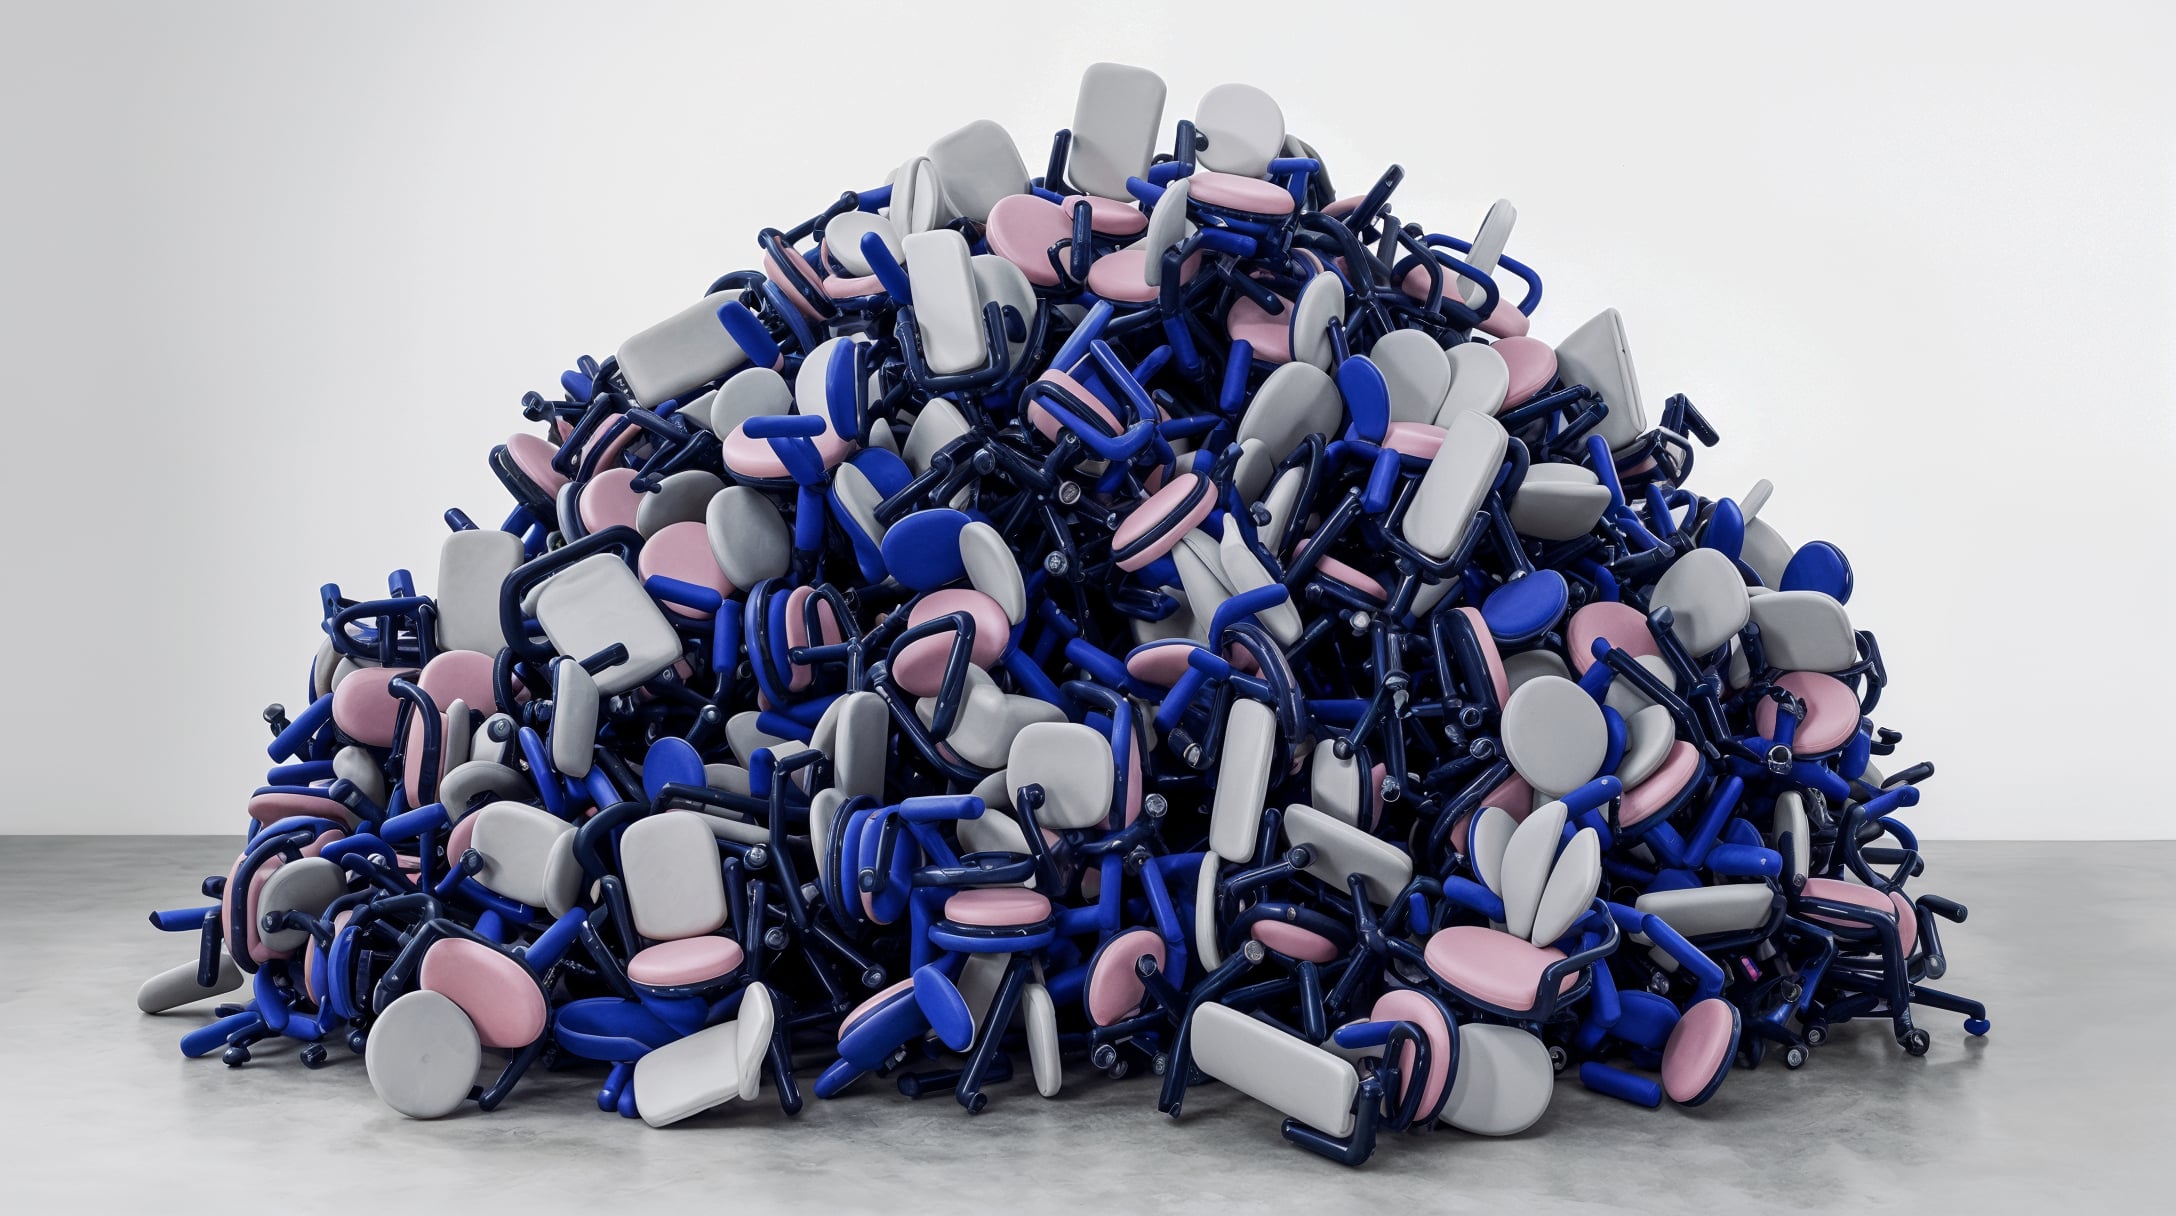
Lesson two is about the 3D models inside plnty: what each one is good at, and when to reach for which. From there it gets hands-on, combining 3D generation with the plnty Pathtracer, then using that Pathtracer output to blend a render cleanly into an existing scene.
What's inside:
Intro
0:00
what lesson two covers, and how it's laid out
Variations Tool
0:39
proportion and shape variations of a chair with the variations tool
Qwen Multiview
1:48
qwen multiview for fresh angles, flux outpaint to extend, then stacking the keepers
The 3D generators
3:03
trellis, tripo, meshy, rodin 2.5 and hunyuan, and what each one is good at
Comparing the results
9:03
topology and quality side by side, plus reflections in the material editor
Plnty Pathtracer
10:28
presets, camera and lighting, alpha and depth of field, then captures to the canvas
Video to 3D
12:53
image edit and a turntable, then multi-object regions and recon-via-gen
Cinema4D Plugin
14:31
the plnty connect plugin, with quads preserved on import
Plnty Animate Tool
15:45
keyframing a simple floating loop and rendering it to video
Blend In Scene Tool
16:55
background plus the pathtracer chair with nano banana 2, then kling for motion
The Full Sandbox
18:46
the finished sandbox from start to end, and what's next
all
3d
lessons
1diverge your own work using the plnty styler
Lesson four is about diverging your own work: taking something you already finished and pulling new directions out of it, rather than generating from scratch. Owen starts with a Cinema 4D and Redshift render of a moody landscape, built around a custom SpeedTree tree, and transfers the style of three references onto it with the plnty styler. What makes it work is what survives: the crooked branches and leaf detail from the 3D stay intact through every restyle. From the favorite frame it runs close-ups, a Topaz upscale to 4K, and a five second Seedance 2.0 move, all in about ten minutes.